Objective:
- To introduce a group to each other and break the ice.
- To make connections between people and encourage participants to recognise the opportunities that exist in networks.
Overview:
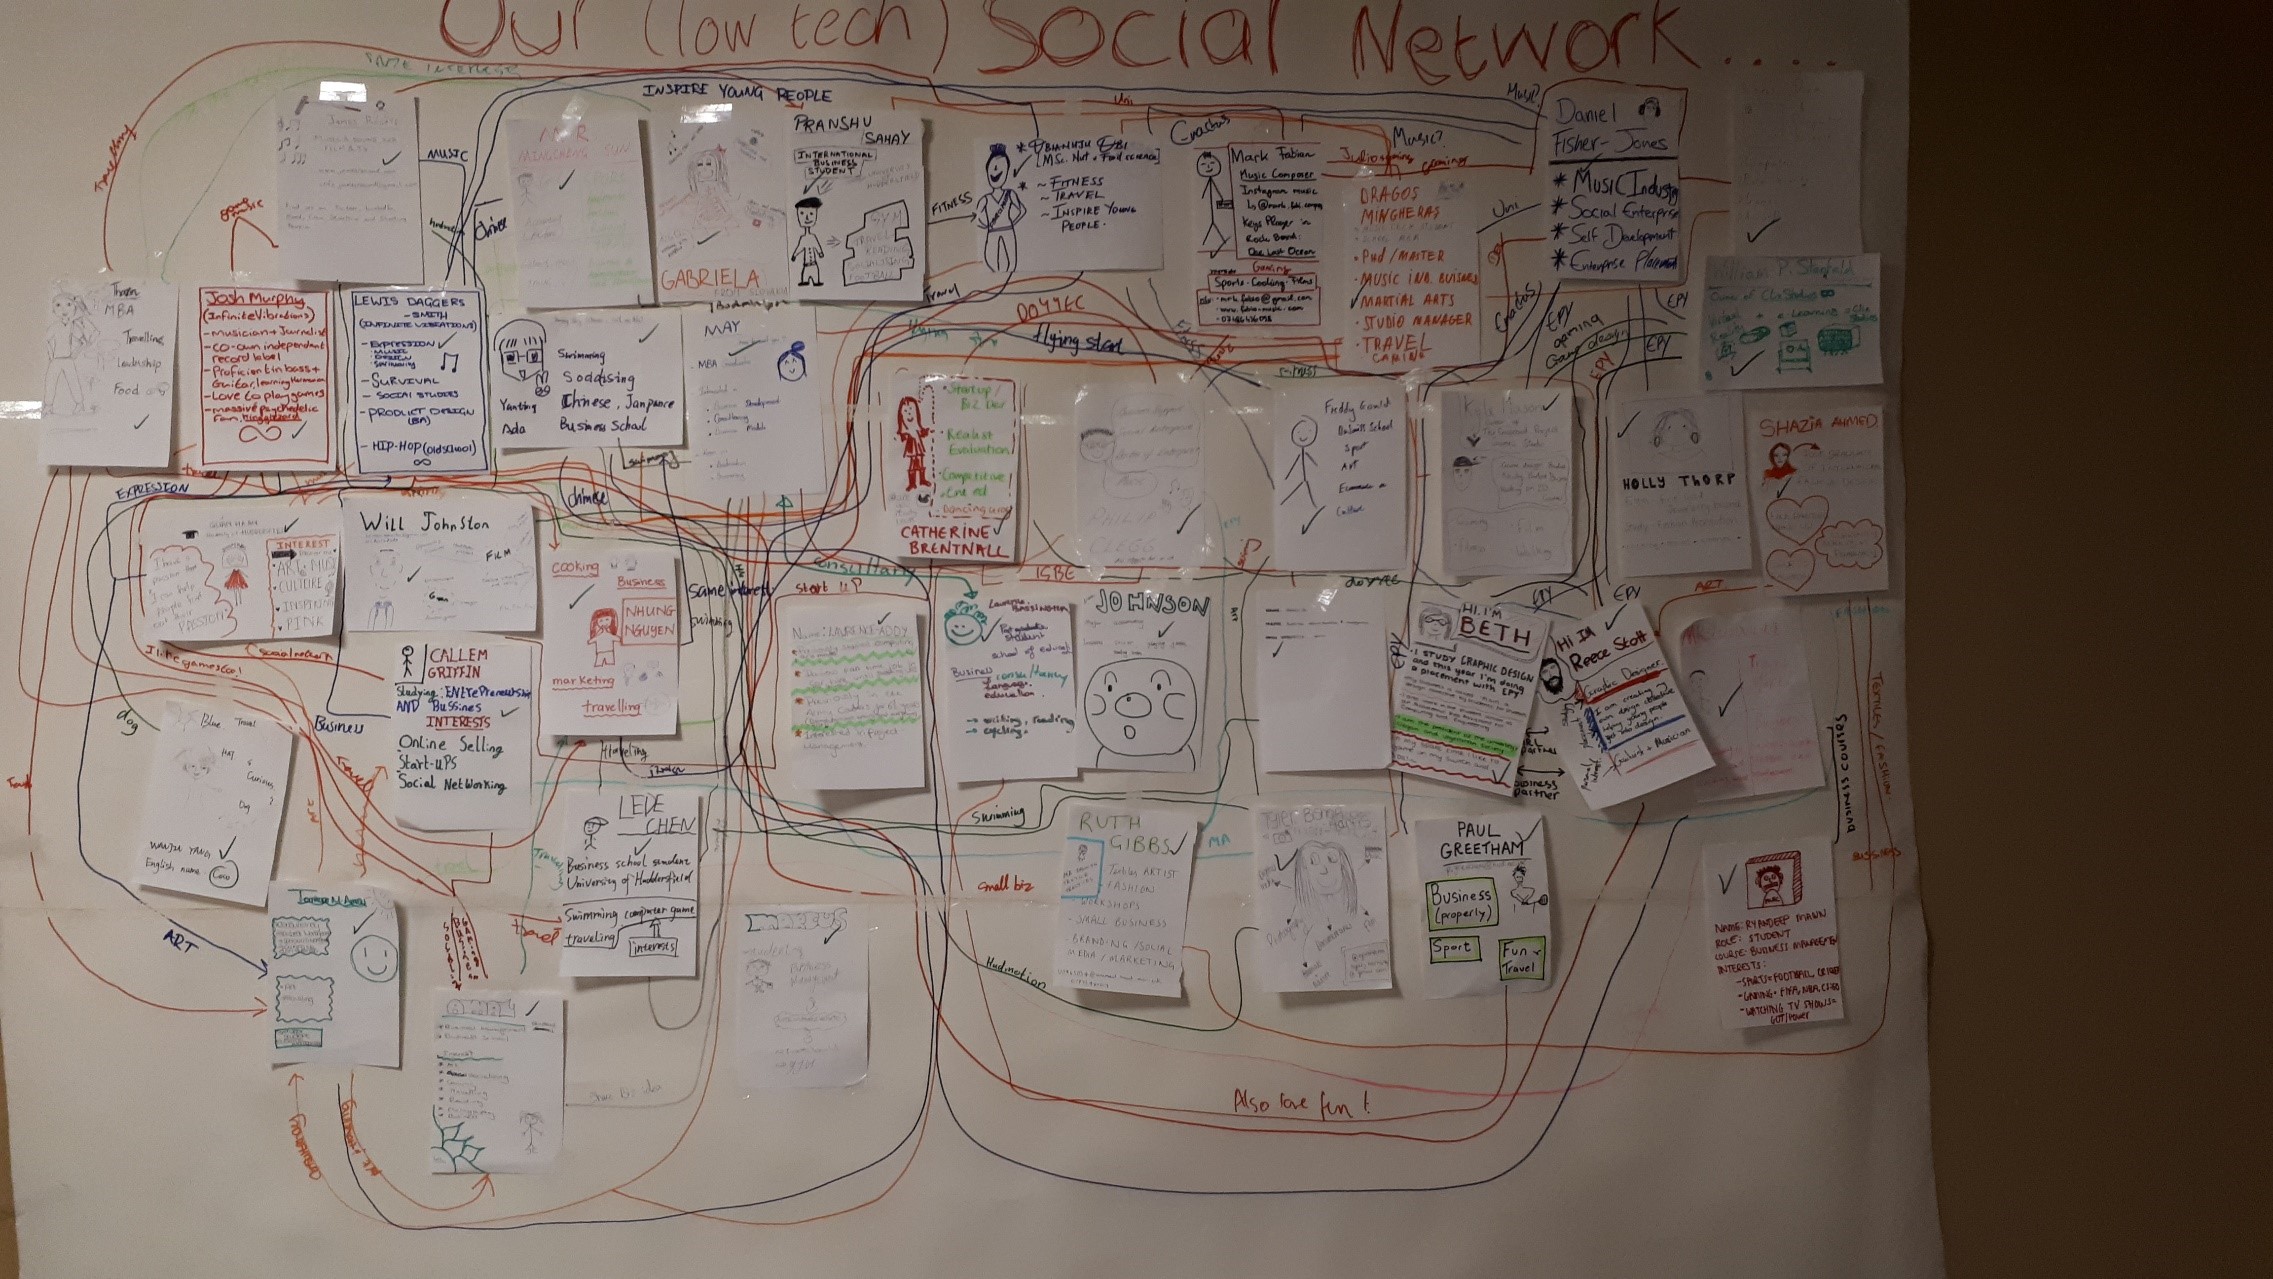
The focus within this task is creating a profile and ‘up loading’ it to a mural-sized visual network where participants can make links between existing and new connections. Through this process, participants recognise the wide range of experiences and interests that could be the foundation for collaborations and shared learning. The process involves making a profile, ‘tagging’ interests, ‘uploading’ the profile to a ‘network’, making and labelling connections between profiles, standing back and seeing the richness of the network, in all its glory.
Activity:
This activity works well with a group of participants who are new to each other, as it encourages people to see beyond the surface and recognise that people around them have varied experiences and interests that might be the basis of shared learning or collaborations. The activity needs a facilitator to give clear explanations to participants: 1) “As a group it’s great to recognise that we all have experiences and interests that might be the starting point for shared learning or collaborations. This activity will help us all get to know each other a little better, and the way that we’ll do that is by building the social network that is in the room right now. First, you are going to need to create the fundamental element of the network – a profile of who you are. Take the A5 sheet and draw the following things: a profile picture, tag 3 main interests (two professional and one personal), and put your name on. Write big enough so people can easily read (model a profile so participants get the idea of how big their writing needs to be). 2) Give participants a chance to create their profiles (5-10 minutes), then explain “The next step in this process is to ‘upload’ our profiles onto our ‘network’. Try to leave some space between profiles. As we will be making connections between profiles later.” If you have a big group, then you after 5 minutes of profile creating you can say “Those who have finished please come up and upload your profile to the network when you are ready.” 3) When everyone has finally uploaded their profile, explain: “The next thing we are going to do is make connections between people. We’re going to do this by drawing lines between profiles and labelling the lines, based on the nature of the connection. Please make connections between people you already know, and also, make connections with new people, based on your shared interests.”
Depending how big the group is, this may take between 15 and 30 minutes. The bigger the group, the more helpful it is that the mural sized network is long – it means people can spread out in front of it.* At this point it also becomes obvious why modelling a good size of handwriting was important – it is much easier for people to read each others’ profiles if the writing is bigger. 4) When everyone has had a chance to make existing and new connections, stand back and admire the network that exists in the room. Interpret its meaning – behold, what an amazing group of people we have in the room, and how often it is that we sit next to someone and don’t understand the richness of their experiences or interests or how we might have shared interests or be able to create new opportunities.
*Other adaptations for very big groups might include: splitting the room in two and inviting one half to upload their profiles whilst the other half shares their experiences and gremlins about networking – encourage people to turn around or swap tables so the waiting turns into an opportunity to meet someone new. If it was a very large group you could consider asking people to create two profiles and building two physical networks to make the process more manageable; each person would put a profile on each network space, but then half of the room would draw lines and label on one version, and the other half of the room would draw lines and label the other. Another adaptation is that when the network is created, the facilitator explains “so we can connect each profile with the right person, when I point to your profile, just stand up and say who you are and your most important tag.” so that every person in the room has a chance to visually connect each profile with a person.
Skill Development:
- The focus of the task (a mechanism for introducing a room to each other), encourages participants to use their reflection and creativity skills in the development of their profile.
- The interactive quality means that students are out of their seats and using interpersonal skills to navigate the building of the network and their communication skills (if the activity involves an adaptation where they are talking to each other or introducing themselves to the whole room).
- The interpretation of the task aims to enable participants to recognise the importance of people and networking and the opportunities which these represent.
Resources:
This activity requires:
- a space where a mural sized ‘Low Tech Social Network’ can be displayed (the bigger the group, the longer the space needs to be).
- an A5 piece of paper or card for them to draw a profile.
- access to markers.
- masking/sticking tape to secure their profile to the network.
- Depending on the size (and mood) of the group, allow for between 25 minutes and an hour.